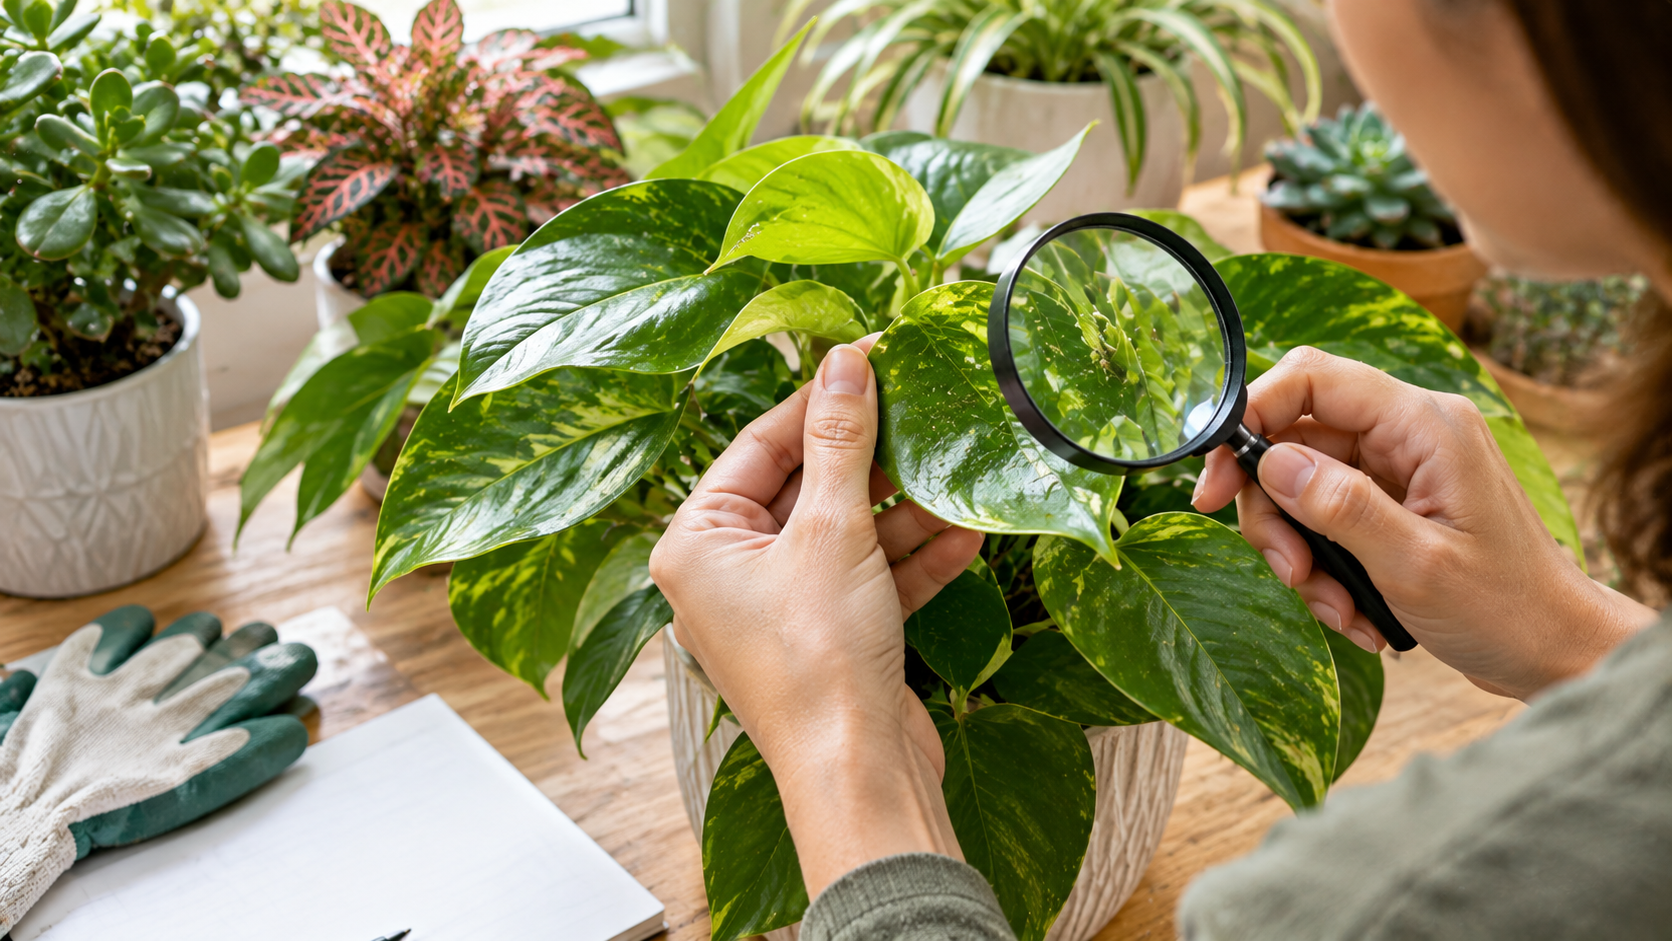
A plant can look healthy from a distance while tiny pests hide beneath its leaves, around new shoots, or where stems meet the soil. By the time leaves become badly damaged or begin to fall, an infestation may already have spread to nearby plants. A simple weekly inspection helps you notice early warning signs and decide what to do before the problem becomes harder to manage.
You do not need expensive equipment or hours of free time. With a few minutes, good lighting, and a consistent routine, you can check your houseplants for insects, mites, sticky residue, and unusual leaf damage. The key is to examine the right places, recognize patterns, and avoid treating a plant before identifying the likely cause.
Why Weekly Plant Inspections Matter
Many common houseplant pests are small and difficult to notice during everyday watering. Aphids often gather around tender new growth, mealybugs hide in leaf joints, scale insects cling to stems, and spider mites may feed on leaf undersides.
Regular inspections help you detect these problems while affected areas are still limited. They also help you distinguish possible pest damage from problems caused by watering, light, temperature, or disease.
Weekly checks are a useful starting point for most indoor plant collections. Inspect more frequently if you have recently purchased plants, noticed suspicious symptoms, or are managing an active infestation. A new plant should ideally remain separate from your collection for a period of observation, since some pests or eggs may not be obvious at first.
What You Need for a Plant Pest Inspection
Keep a small inspection kit together so the routine is easy to repeat. Useful items include:
- A bright flashlight or a well-lit location.
- A magnifying glass for tiny insects and mites.
- A clean, soft cloth or cotton swab for examining small areas.
- A notebook or phone to record observations and photograph symptoms.
- Disposable gloves, especially when handling unknown pests or irritating plant sap.
- A white sheet of paper to help reveal tiny moving specks.
You do not need to apply products during every inspection. The first goal is observation, not treatment. Avoid using the same uncleaned tools on several plants if you suspect a pest or disease problem.
A Step-by-Step Weekly Inspection Routine
1. Observe the Whole Plant Before Touching It
Start by looking at the plant from a short distance. Compare its current appearance with how it looked the previous week.
Look for changes such as:
- New yellow, pale, or brown patches.
- Leaves that are curling, distorted, or unusually wrinkled.
- Stunted new growth or buds that fail to develop normally.
- Fine webbing between leaves or along stems.
- A sticky shine on foliage, nearby surfaces, or the outside of the pot.
- Small flies or insects moving when the plant is disturbed.
One symptom alone does not prove that pests are present. Yellow leaves, for example, may result from watering problems, natural aging, or root stress. Look for additional evidence before deciding what is wrong.
2. Check the Upper and Lower Leaf Surfaces
Inspect leaves individually, especially those that look discolored or distorted. Turn them gently to examine the undersides, where several common pests prefer to feed.
Pay particular attention to the central vein, smaller veins, and leaf edges. Use a flashlight to reveal fine webbing or pale speckling, and use a magnifying glass when the suspected pest is too small to identify clearly.
Spider mites can cause tiny pale dots or a faded, speckled appearance. Fine webbing may appear when populations become more established. Thrips can leave silvery or dull patches, sometimes accompanied by tiny dark specks of waste. These signs are clues rather than definitive diagnoses, so compare them with the insects or other evidence you can see.
3. Examine Stems, New Shoots, and Leaf Joints
New growth is especially important because aphids often gather around tender shoots and flower buds. Check the tips of stems, the places where leaves attach, and any folded or tightly packed growth.
Mealybugs may look like small white cottony clusters. Scale insects can resemble fixed brown or tan bumps attached to stems or leaf undersides. Some scale insects produce sticky honeydew, which can also appear with aphids and mealybugs.
Do not assume that every white mark or bump is an insect. Mineral deposits, natural plant features, and dried sap can look similar. If a mark appears suspicious, examine it closely and look for other signs nearby.
4. Look for Sticky Residue, Specks, and Webbing
Inspect the pot rim, plant stand, and surface beneath the foliage. Sticky residue may indicate honeydew produced by sap-feeding insects. Black, soot-like growth on a sticky leaf can also be associated with honeydew.
Fine webbing, especially when combined with pale stippling on leaves, raises suspicion of spider mites. By contrast, a few ordinary spider strands without leaf damage may simply come from a harmless spider.
For tiny moving pests, gently tap a leaf over a sheet of white paper. Small specks that begin moving may warrant closer examination with a magnifying glass. This simple check is useful when insects are difficult to see against green foliage.
5. Check the Soil Surface and Pot Area
Look around the soil surface, drainage holes, and the base of the plant. Small dark flies hovering around damp potting mix may be fungus gnats. Their presence is not the same as an infestation of leaf-feeding insects, and the appropriate response differs.
Avoid disturbing the roots or repotting the plant simply because you see a few insects. First determine where the insects are gathering and whether the plant is showing related symptoms. Fungus gnats are often associated with persistently moist growing media, so review watering habits and drainage before choosing a treatment.
6. Record What You Find
Make a brief note for each plant that shows unusual signs. Record the date, the affected areas, the visible symptoms, and whether you actually observed insects.
Photographs are particularly useful. Take a close-up of the affected leaf and another picture showing the whole plant. Comparing images from week to week can reveal whether the damage is spreading or whether new growth looks healthier.
How to Recognize Common Plant Pests
| Pest | Signs to look for | Common hiding places |
|---|---|---|
| Aphids | Clusters of small, soft-bodied insects; curled shoots; sticky residue | New growth, buds, leaf undersides |
| Mealybugs | White, cotton-like wax or clusters | Leaf joints, stem crevices, leaf bases |
| Scale insects | Fixed, shell-like bumps; sometimes sticky leaves | Stems, veins, leaf undersides |
| Spider mites | Fine pale speckling and, in some cases, delicate webbing | Leaf undersides and leaf-stem junctions |
| Thrips | Silvery or dull leaf damage and tiny dark specks | Foliage, young leaves, flowers |
| Fungus gnats | Small dark flies near moist potting mix | Soil surface and pot area |
These descriptions are useful for initial screening, but different species can look alike. When identification is uncertain, take clear photographs and consult a reliable plant diagnostic resource before applying a treatment.
What to Do When You Find Possible Pests
Isolate the affected plant
Move a suspected infested plant away from healthy plants, if practical. Avoid brushing leaves together or carrying pests on your hands and tools. Check plants that were nearby because some pests can spread between neighboring pots.
Confirm the likely problem
Examine the plant again with good lighting and magnification. Determine whether insects are present and where they are concentrated. Remember that leaf discoloration can also result from environmental stress, so avoid treating a plant solely because one leaf has turned yellow.
Start with proportionate measures
For a small, localized infestation, you may be able to remove individual pests by hand or wipe them away with a suitable damp cloth. A gentle water rinse may help on plants that tolerate it, provided the foliage can dry appropriately and the potting mix is not left waterlogged.
More persistent infestations may require a product specifically labeled for the plant and pest. Follow the label exactly, including application instructions, protective measures, and any repeat-treatment schedule. Test a suitable treatment on a small area first if the label permits, since some plants are sensitive to sprays. Do not mix products or assume that a household cleaner is safe for foliage.
If the plant is heavily infested and pests continue spreading, consider whether it is practical to keep treating it. Discarding a severely affected plant may sometimes protect the rest of the collection.
Common Inspection Mistakes to Avoid
- Checking only the top of the leaves: many pests hide underneath foliage or in narrow joints.
- Relying on one symptom: yellowing, wilting, and leaf spots can have several causes.
- Inspecting only visibly unhealthy plants: pests may establish themselves before obvious damage appears.
- Spraying before identifying the pest: an unsuitable product may damage the plant without solving the problem.
- Forgetting nearby plants: an infestation can spread before the original plant looks severely affected.
- Stopping inspections after one treatment: eggs or surviving pests may remain, depending on the species and treatment used.
How to Build a Routine That Lasts
Choose a regular day each week and inspect plants in a consistent order. For a small collection, you may only need a few minutes per plant; larger collections can be divided into manageable groups across the week.
New purchases deserve extra attention and should be kept apart from established plants when possible. Clean fallen leaves and dead plant material, keep tools clean, and provide each plant with suitable light, watering, and airflow. Healthy growing conditions do not guarantee freedom from pests, but they make it easier to notice changes and avoid confusing care-related damage with an infestation.
During an active pest problem, inspect affected plants more often than once a week and follow the treatment label or reliable pest-specific guidance. The interval needed to reassess the plant depends on the pest’s life cycle and the control method being used.
Make Early Detection Part of Plant Care
The most useful weekly inspection is one you can repeat consistently. Look closely at leaf undersides, fresh shoots, stem joints, and the soil surface; record suspicious changes; and confirm the likely cause before treating the plant.
If you find something unusual, isolate the plant when practical and monitor nearby plants as well. A careful observation routine helps you respond proportionately, protect the rest of your collection, and make better decisions about plant care.