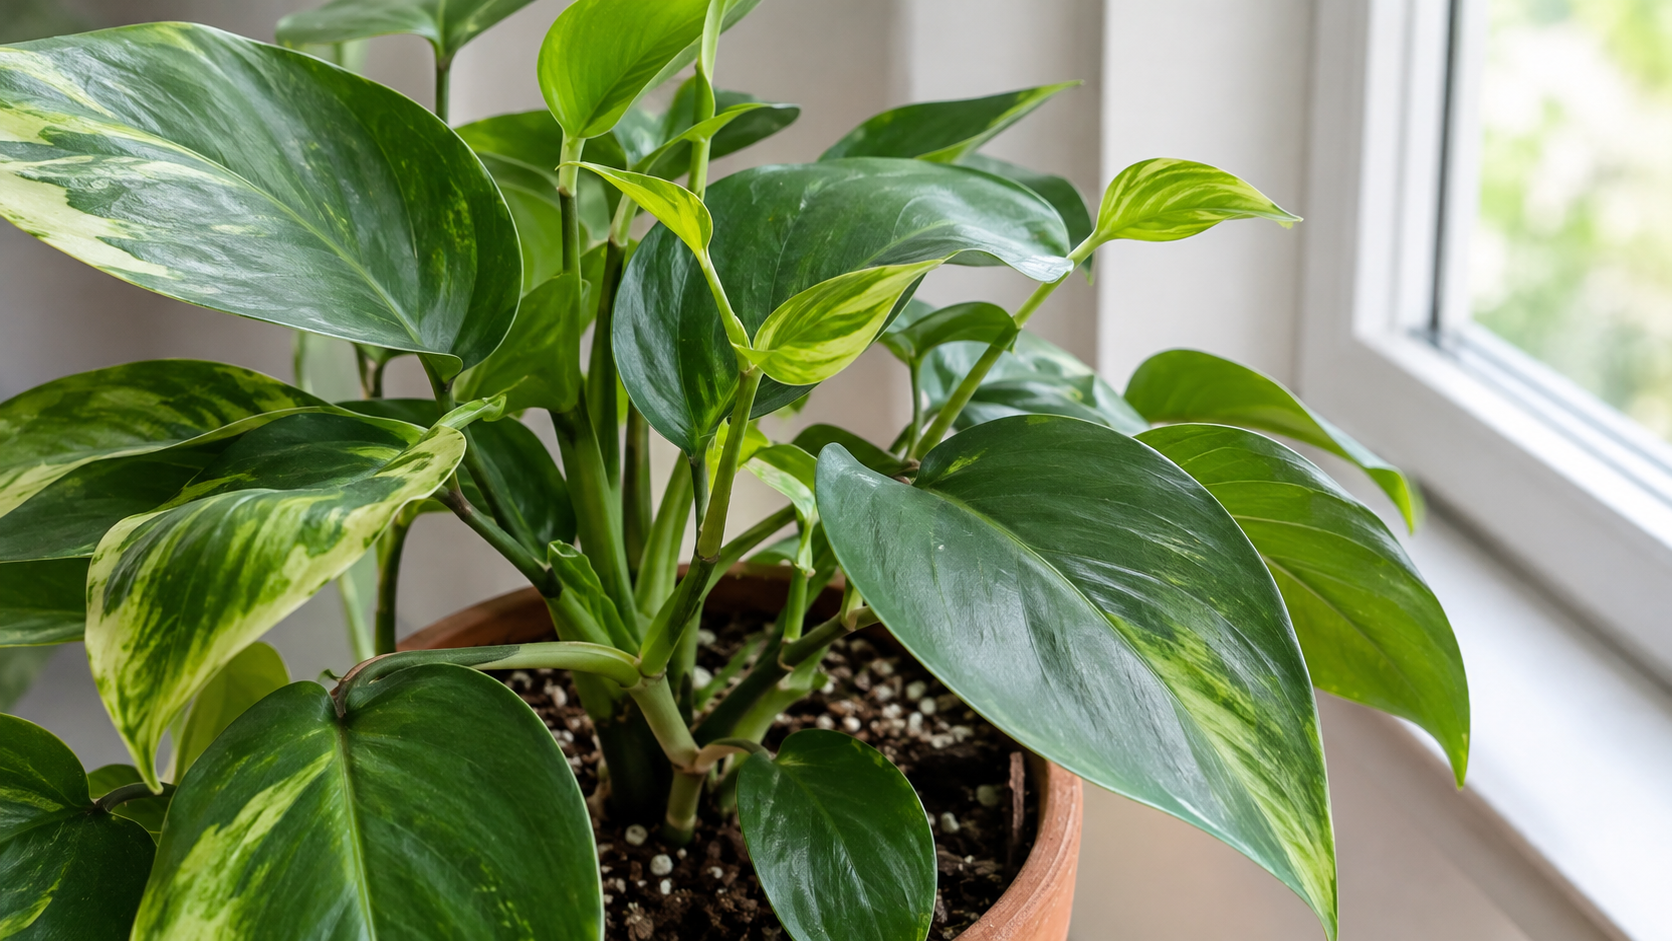
Removing a plant from its pot can be stressful when the roots are tightly packed, the soil is dry, or the container is difficult to handle. Pulling too hard on the stem or forcing the root ball through a narrow opening can break delicate roots and damage the plant.
Fortunately, most potted plants can be removed safely with a few simple techniques. The key is to support the root ball, loosen the container rather than pulling on the plant, and adjust your method to the pot’s material and the plant’s condition.
Whether you are preparing to repot a houseplant, checking its roots, or replacing old potting mix, the following steps can help reduce unnecessary damage.
Why Is It Important to Protect the Roots?
Roots absorb water and essential nutrients, anchor the plant, and support healthy growth. Fine roots are especially important because they help the plant take up moisture and nutrients from the growing medium.
When roots are torn or crushed during removal, the plant may temporarily struggle to absorb enough water. Depending on the extent of the damage and the species, you may notice wilting, slower growth, or leaf loss.
A small amount of root disturbance is often manageable, particularly during routine repotting. However, unnecessary damage can make recovery more difficult, especially for plants that are already stressed.
When Should You Remove a Plant from Its Pot?
Removing a plant is useful when there is a clear reason to inspect or change its growing conditions. It is not necessary to disturb the roots simply because a certain amount of time has passed.
Common reasons include:
- Roots growing through drainage holes: This may indicate that the plant has filled much of the available space.
- Roots circling the root ball: A dense network of circling roots can suggest that the plant has become root-bound.
- Watering difficulties: The potting mix may dry unusually quickly or become difficult to wet evenly.
- Deteriorated potting mix: The growing medium may have compacted or lost its structure.
- Possible root damage: Persistent wilting despite appropriate watering may justify inspecting the roots.
- Moving to another container: Repotting may be necessary when the plant needs more space or fresh growing medium.
Some plants tolerate crowded roots better than others. Consider the species and the plant’s overall condition before deciding to repot.
Materials Needed to Remove a Plant Safely
Prepare your workspace before handling the plant. Having everything ready reduces the time the roots remain exposed.
Useful materials include:
- A clean work surface covered with newspaper or a protective cloth.
- Gardening gloves, particularly when handling plants with irritating sap or spines.
- A clean hand trowel or blunt tool for loosening compacted potting mix, if necessary.
- Clean pruning shears for damaged roots, when removal is justified.
- A new pot and suitable potting mix if you plan to repot.
- A clean towel or container for temporarily supporting the root ball.
For ordinary houseplants, you usually do not need specialized equipment. Gentle handling is more important than using many tools.
Step-by-Step: How to Remove a Plant from Its Pot
1. Prepare the plant and workspace
Choose a stable surface with enough room to turn the container safely. Remove decorative covers, saucers, and any supports that could interfere with handling.
Check the soil moisture before beginning. Extremely dry, shrunken potting mix may make removal easier in some cases, but a very dry root ball can also crumble. If the soil is excessively dry, modestly moisten it and allow excess water to drain before proceeding.
Avoid saturating already wet soil, especially if the plant may have root problems.
2. Support the base of the plant
Place one hand over the surface of the potting mix, supporting the root ball around the plant’s base. If the plant has a sturdy stem, position your fingers so the stem is supported without squeezing it.
For plants with delicate stems, long vines, or fragile foliage, concentrate on supporting the container and root ball rather than gripping the plant itself.
Never yank the plant upward by its stem or pull hard on its leaves. This can damage stems and separate roots from the plant.
3. Tilt the pot and loosen the root ball
For a small or medium-sized plant, tilt the pot onto its side while supporting the plant. Gently tap the outside of a flexible plastic pot or the rim of a sturdy container against your palm or a stable surface.
If the root ball does not move, rotate the container and repeat the gentle tapping. The goal is to release the potting mix from the container walls.
For a heavy plant, ask someone to help support it rather than attempting to turn the entire container upside down.
4. Remove the container rather than forcing the plant out
Once the root ball begins to loosen, keep it supported while easing the pot away.
If the pot is flexible plastic, gently squeeze its sides to release the soil. If the container has a narrow opening, inspect whether the root ball is caught against the rim.
For a rigid pot, carefully slide a blunt, clean tool along the inside wall if there is enough space to do so without cutting into the roots. Stop if you encounter significant resistance.
When a plant is firmly stuck in a valuable ceramic pot, protecting the plant and your hands is more important than preserving the container at all costs. If necessary, seek help or consider sacrificing the pot rather than applying excessive force.
5. Inspect the roots without disturbing them unnecessarily
Once the plant is out, examine the root ball.
Healthy roots are generally firm, although their color varies by species and growing medium. White, cream, tan, or brown roots may all be normal, depending on the plant.
Look for:
- Dense roots circling around the outside of the root ball.
- Soft, mushy, or decaying roots.
- A sour or unpleasant smell that may indicate root problems.
- Potting mix that has become compacted or breaks down excessively.
If the roots look healthy and the plant does not need repotting, avoid pulling the root ball apart simply to inspect every root.
6. Loosen crowded roots only when necessary
If the plant is root-bound, gently loosen a few roots around the outer edges using your fingers. Work slowly, allowing the roots to separate naturally where possible.
Roots that circle tightly around the outside may need more attention. If they cannot be loosened without tearing, a small, careful trim may be appropriate for certain plants.
Use clean, sharp pruning shears and remove only what is necessary. Do not routinely cut healthy roots from a plant that is already weak, and avoid aggressive root pruning unless the species and situation justify it.
What to Do If the Plant Will Not Come Out
A stuck plant does not necessarily need to be pulled harder. The right solution depends on the container and the condition of the roots.
If the pot is plastic
Gently squeeze different sides of the pot, working around the circumference. This can help separate the root ball from the walls.
If the pot is inexpensive and the roots are firmly trapped, cutting the plastic container away may be safer than forcing the plant out. Use scissors or a cutting tool cautiously, keeping the blade directed away from the roots and your hands.
If the pot is ceramic or terracotta
Tilt the container and tap it gently while supporting the root ball. If possible, slide a blunt tool between the pot and the soil to release the edges.
Do not strike the pot forcefully. Ceramic and terracotta can crack suddenly, potentially injuring you or damaging the plant.
If the plant is severely root-bound and the container cannot be safely removed, consider asking an experienced gardener for assistance.
If the roots are growing through the drainage holes
Do not immediately pull the plant upward. Fine roots can become trapped in the openings.
If the roots are small and accessible, carefully free them without tugging. If they are firmly lodged, you may need to trim a small number of roots or cut away a plastic pot. Preserve as much healthy root tissue as reasonably possible.
How to Care for the Plant After Removal
The next steps depend on whether you are repotting, inspecting the roots, or returning the plant to its original container.
If you are repotting, choose a clean pot with drainage holes and a size appropriate for the root ball. For many houseplants, a container approximately 1–2 inches (2.5–5 cm) wider in diameter is sufficient, although the ideal size varies by species and root structure.
University of Maryland Extension
+1
Follow these steps:
- Add suitable potting mix to the new container.
- Position the plant at approximately its original soil depth.
- Fill around the root ball without packing the mix tightly.
- Water according to the plant’s needs and allow excess water to drain.
- Return the plant to a suitable environment, avoiding sudden changes in light or temperature.
If you discover soft, decaying roots, remove the affected tissue with clean tools and address the conditions that contributed to the problem. Do not automatically remove all the old soil or wash every root clean; extensive disturbance can create additional stress.
Avoid applying fertilizer immediately after significant root damage unless there is a specific, species-appropriate reason to do so.
Common Mistakes to Avoid
Several seemingly simple actions can make removal more difficult or increase the risk of root damage.
- Pulling the plant by its stem or leaves.
- Forcing a root ball through a narrow pot opening.
- Using a sharp knife without checking where the roots are located.
- Breaking healthy roots merely to make the root ball easier to handle.
- Repotting into a container that is much too large.
- Leaving exposed roots to dry out while preparing the new pot.
- Watering heavily without considering the soil’s existing moisture and the plant’s needs.
Working slowly and choosing the least disruptive technique will usually be more effective than applying extra force.
Frequently Asked Questions
Should I water the plant before removing it?
It depends on the soil and the plant. Slightly moist soil often holds together better than very dry soil, but a saturated root ball can be heavy and difficult to handle. Check the conditions first rather than watering automatically.
Can I remove a plant without damaging any roots?
It is often possible to remove a plant with little or no root damage, particularly when it is not root-bound. However, some root disturbance may be unavoidable when roots are tightly trapped or the container is unsuitable.
Should I remove all the soil from the roots?
No. For routine repotting, retaining much of the existing root ball is often less disruptive. Remove old soil more extensively only when necessary, such as in specific cases involving decayed roots or an unsuitable growing medium.
Is it better to repot during a particular season?
For many houseplants, repotting when active growth begins is a good option because the plant can establish new roots. However, urgent problems such as serious root decay may require attention regardless of the season.
Protect the Root Ball and Let the Plant Guide Your Next Step
Removing a plant from its pot does not need to be a forceful process. Support the root ball, loosen the container gradually, and inspect the roots before deciding whether to prune, repot, or return the plant to its original pot.
The most important principle is to disturb healthy roots as little as possible. Once the plant is safely removed, make only the changes its condition requires and monitor its response over the following weeks.